Everyone can do photography; you just pick up a phone or a camera and snap away. It’s as simple as that. But No! low light Photography has its levels; mobile photography is the most basic kind of photography.
Then there is the kind of photography that’s done with a DSLR camera, and with few basics; it’s easy.
However, the hard part comes when you have to turn to manual settings. For a layman, knowing what the Shutter Speed or ISO is could be as new as learning to drive.
Table of Contents
Biggest Problems for Low-light Photography:
The biggest problem I faced when starting with Low-light photography and others would have too was:
- Shaky/blurry photos
- Too much noise/grain
- Photos that were too dark
and also the problems like
- Hardware problems, maybe your camera is old and can’t handle ISO that well
- you’re just using the wrong settings or you’re using auto mode which is not at all advisable.
- You’re not shooting in RAW or the camera sensor is too small. The problems are endless and one may get frustrated.
There are 2 Ways to Solve These problems The Hard Way and The Easy Way. Read on to Find Out.
Before we begin, this article is about the people:
- Who don’t know anything about camera settings? e.g. ISO, Shutter Speed
- Who don’t know where to start in Low-Light Photography.
- Who have experimented Low-Light Photography but failed.
- Who can’t afford an expensive lens?
- Who have a DSLR or Manual Mode / Pro Mode in Their Smart Phone.
Low-Light Photography the Basics:
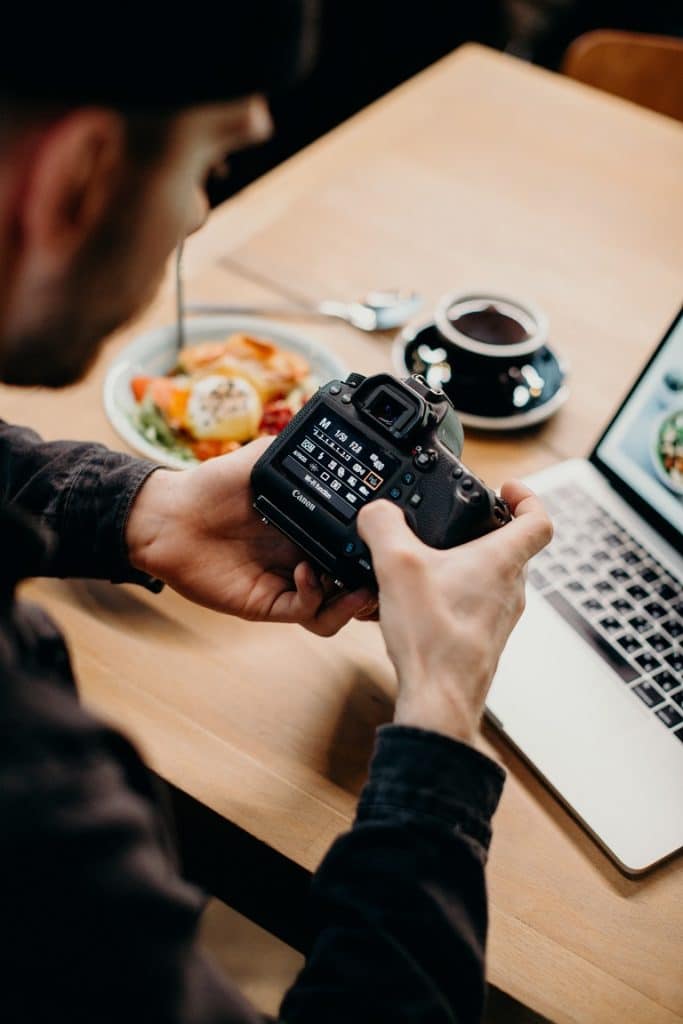
Low-Light Photography is a sensitive and delicate subject. It requires patience and precision. In Low-Light Photography you don’t have a lot of light to work with.
It’s either pitch dark or very dim. It’s also hard for the camera to focus on subjects that it can’t see.
Then there’s the problem of too much exposure or little of it and in the end, you just can’t seem to nail that composition. I’ll tell you a little secret “Not every shot is an award winner”.
Sometimes you just got to work with what you clicked, but whatever you’ve captured should be your best and I will help you in making it your best. So here are a few basic rules and tips on low light photography to get you started:
Types of Low-Light Photography:
There are 3 types of Low-Light Photography:
1. Visible/Shadows:
In this type of Low-Light Photography, there are dark areas or shadows of giant structures where sunlight can’t help you with your subject.
2. Sunset or Sunrise:
During Sunset or Sunrise there is a little bit of light but still reduced light for your subject.
3. Dark or Night Time: At last, there is the most difficult time of all, night time, the time when Batman roams the streets.
There is little to no light for you and it’s hard to even get pictures of your subject. Clear photos are out of the question if you don’t know what you’re doing. Only the moon and well-lit objects are visible.
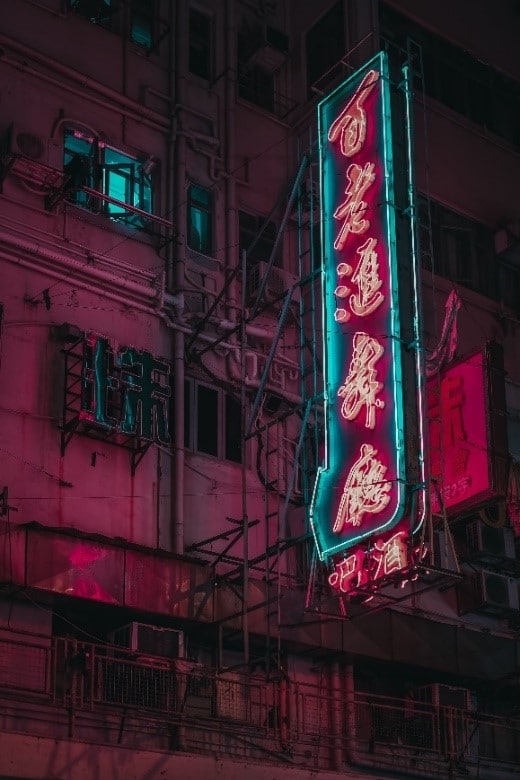
These are the most common situations where we can say that this is Low-Light Photography and yes now I need help. What shall I do?
10 Important points to Help You with Low-Light Photography:
Before Diving in Let’s Brush up your Basics in Photography.
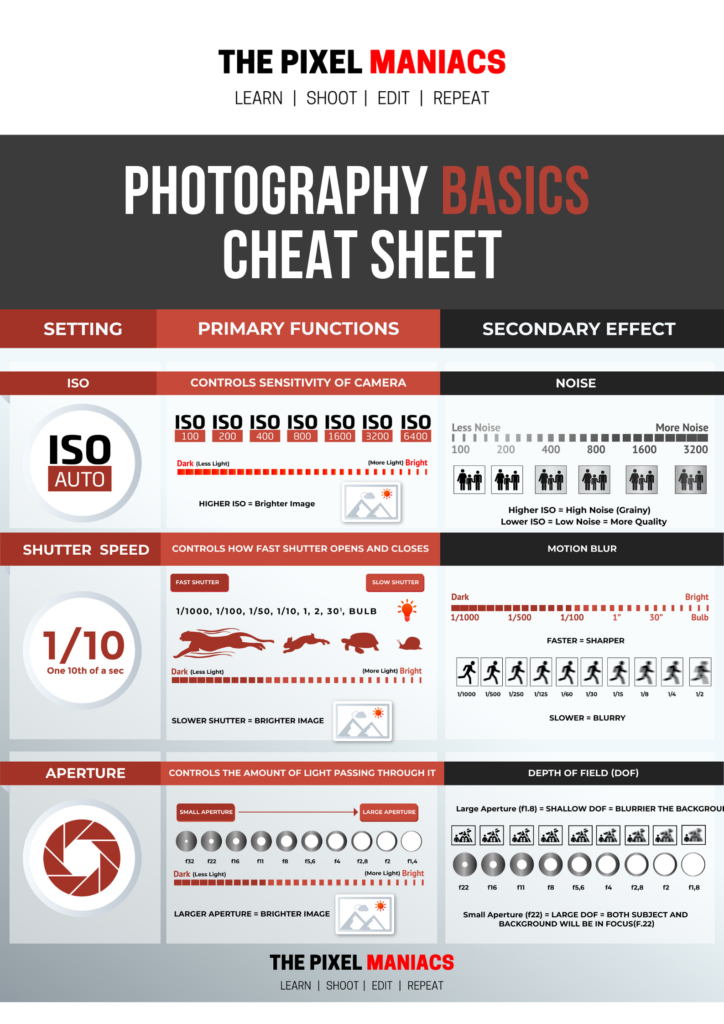
Here’s a Photography Cheat Sheet to Get You Started.
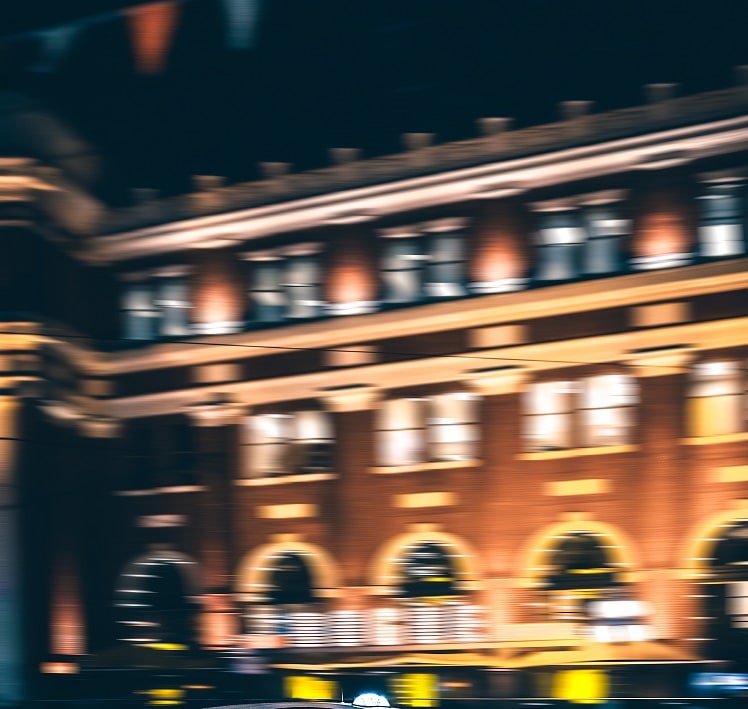
1. How To avoid Blurry Photos:
Understand Shutter Speed Or Exposure Time
Shutter Speed is defined as how long you keep your camera’s eye (i.e Shutter) open, the longer it stays open the more light can come in. Shutter speed matters because we are talking about Low-Light Photography and we need the best possible light.
As a General Rule of Thumb use a Shutter Speed of 1/focal Length if you are shooting Hand held to avoid motion blur.
Eg: if You’re shooting at 50 mm you need to use a shutter speed of 1/50 or higher to avoid motion blur.
For Low-Light Photography if you have a flash or secondary light then the rules change and you may need a faster Shutter Speed and try to direct the light towards your subject or at least bounce it away from them.
Take away points:
- use a Shutter Speed of 1/focal Length if you are shooting Hand held to avoid motion blur.
- The Slower the Shutter Speed the further light can enter the camera and hence a brighter image but motion blur can occur if one is not careful.
- Use Image Stabilised Lens for better Low Light Performance.
2. Expose Correctly : Understand the ISO (International Standards Organization)
Let’s get to ISO, we’ll call it the artificial lighting or brightness that your camera adds to your photo. This feature is really neat but as they say, too much of something is bad.
Too much ISO can cause Noise or grainy images. Which seriously looks bad. Just take a look at this
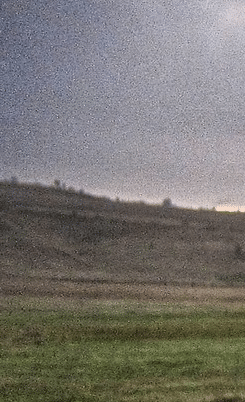
I would advise you to keep that ISO under 1600 even in dim light, cause it’s hard to remove it in post-processing. But if you have a light source or a flash then keep it at 100, because pictures look really good at 100 ISO.
Other than that, ISO is your camera sensors sensitivity, the higher the ISO, the sensitive the image sensor to light and vice versa. I’ll say this that if you’re struggling with adjusting your Shutter Speed or Aperture, then adjust your ISO. Or your photos would be muddy and unusable.
take away:
- The more ISO you use the, noisy your photo will be and could be unusable.
- The less ISO you will use the, Better is your Photo Quality
- Set ISO not more than 1500 and if possible, keep it at 100 or at camera’s native ISO
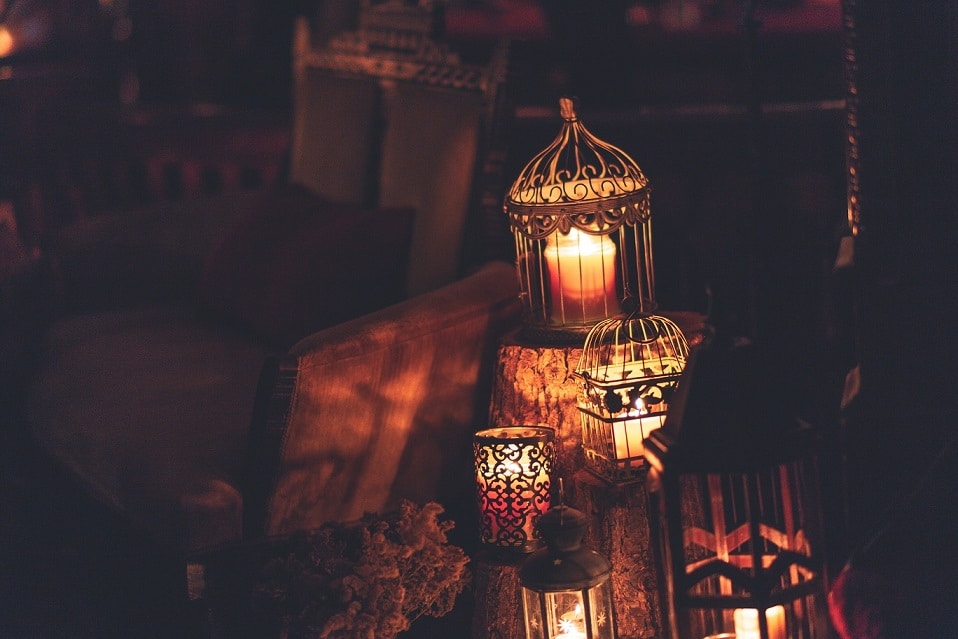
3. Get the Bokeh effect: Understaning Aperture
the Aperture is the opening of the lens. It regulates the light falling on the sensor

Most camera lenses will have an aperture from f/3.5-f/5.6 but you can take it to f/24. In Low-Light Photography we would say that stay with the maximum aperture like f/3.5 or faster (lower f-stop number) as it lets the camera sensor have all the light and you will have beautiful bokeh (blurred background) effect.
Take Away :
- Bigger the opening (lower the F-stop Number), more light will come in and Blurrier the Background
- use Aperture size at least bigger than f/3.5 (lower f-stop Number).
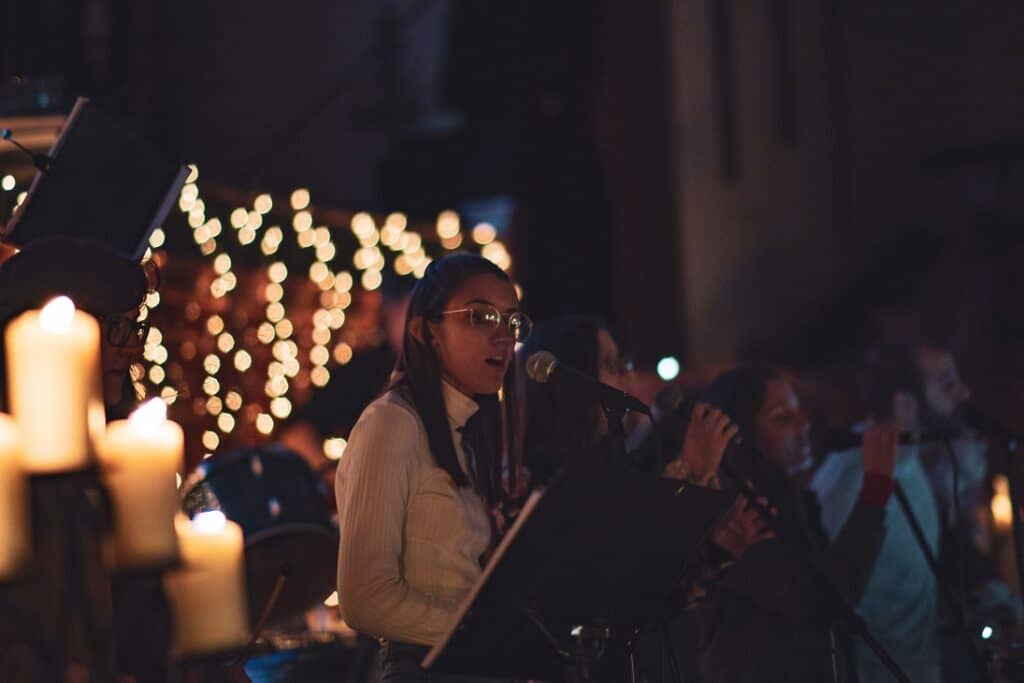
4. Use a Tripod or a Steady Place for your Camera:
If you want to do long exposure photography or Low-Light Photography you have to have a tripod, because if the last 3 points still don’t help you then the answer is a tripod. Invest in one, they can start from $10-$2000, but you would only to spend as much as $50. You can get great deals at Amazon.
Look I know you’re saying, “But I can hold the camera for 2 seconds.” Well good luck with that, because you are not going to be able to. Even the most skilled surgeons could not hold that camera for more than a second. You need to get a tripod, it’s the best thing that will happen to you.
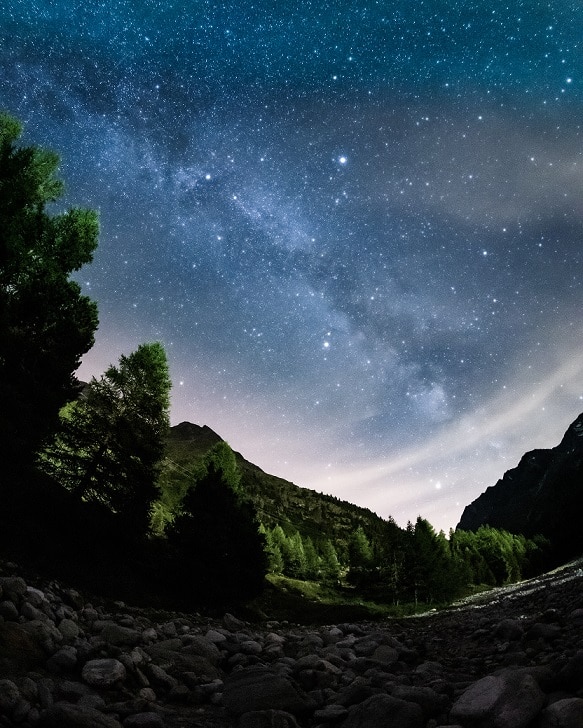
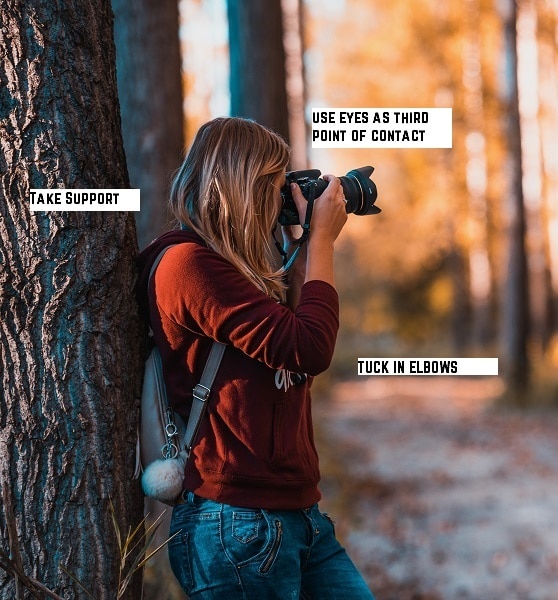
5. Learn to Make A Steady Posture:
I know this sounds easy but it’s not, the best way to like the way someone shoots a gun, it’s all about the Rhythm. As often as possible, pull your elbows into your body and exhale completely before depressing the shutter.
When you’re working with a wide Aperture or low Shutter Speed (or both), even a breath can introduce shake. Pulling your elbows tight to your body can help keep you steady. This may help you very much if you don’t have a tripod. Use your camera strap too.
6.Shoot in RAW
I know it’s confusing to see so many types of files for photography like jpeg, TIFF, GIF or RAW. I’ll say that the best is RAW because it lets you make adjustments without ruining your photo too much.
Compared to jpeg, RAW is the best for Low-Light Photography. The file sizes are a bit big but that shouldn’t be a problem. Also, your camera tends to tweak photos shot in jpeg, so shoot in RAW. RAW does not limit you.
Shooting in RAW helps you to edit or bring out the details in the shadows (dark parts of image) very effectively unlike JPEGs.
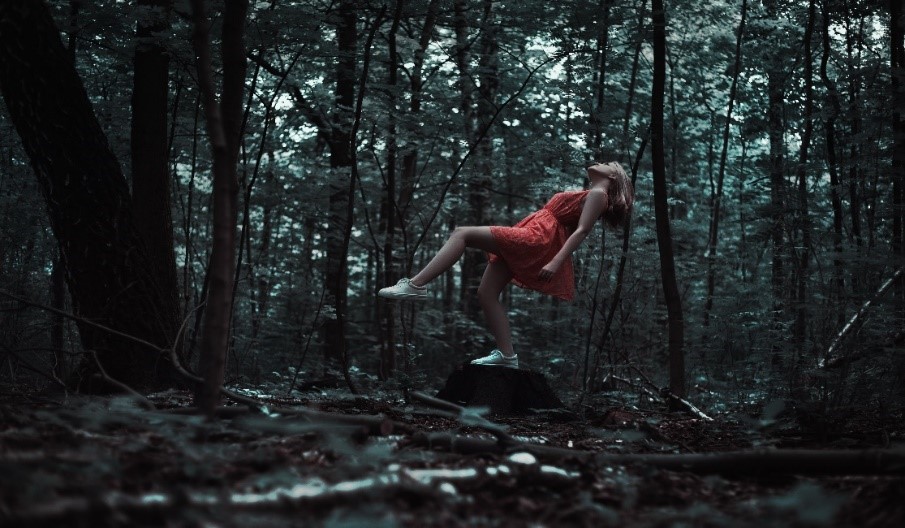
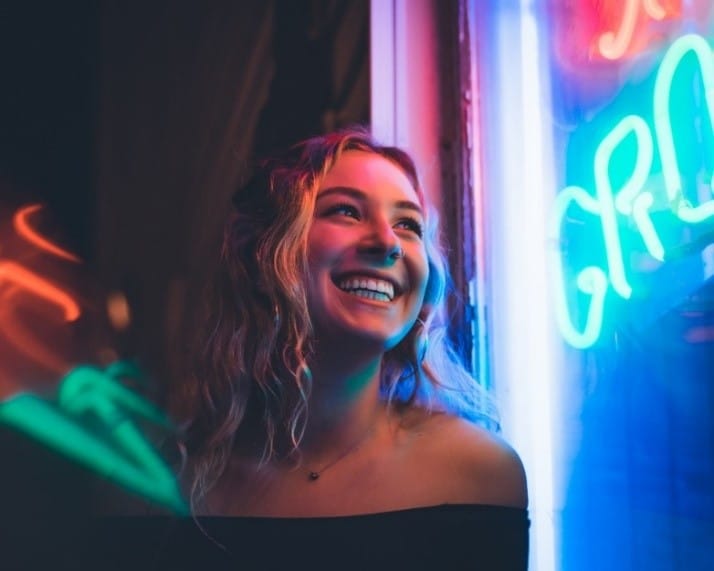
7. Use a Flashlight or Secondary Lighting or Neon Lights
This tip is not for all but as I told you before, Low-Light Photography has its problems with not having enough light to use. My advice is trying to use your flash as a last resort because from my experience flash makes the image more plasticky if you don’t know how to use it.
You could use a diffuser to avoid that plasticky look. But if you have neon lights or secondary lights like those photo studios have then your good to go.
Just try not to shine a flash dead front on your subject but try to bounce it off something and onto your subject to give it that faded look.
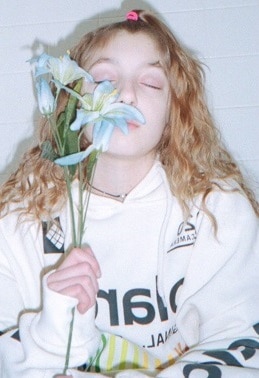
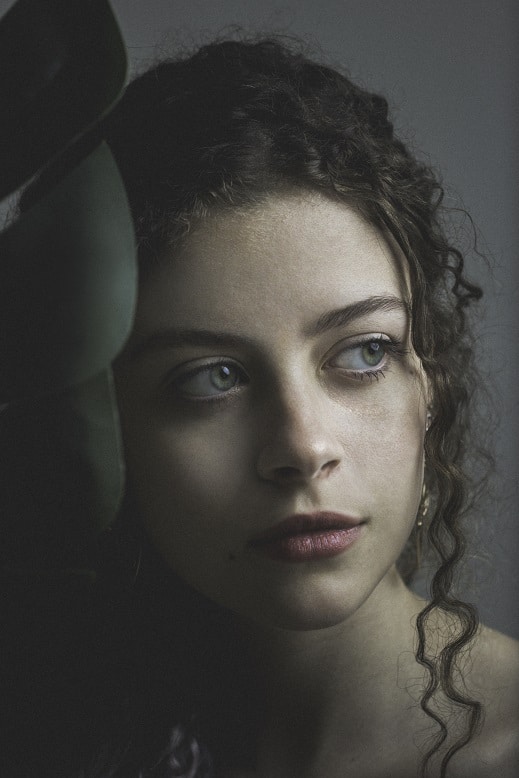
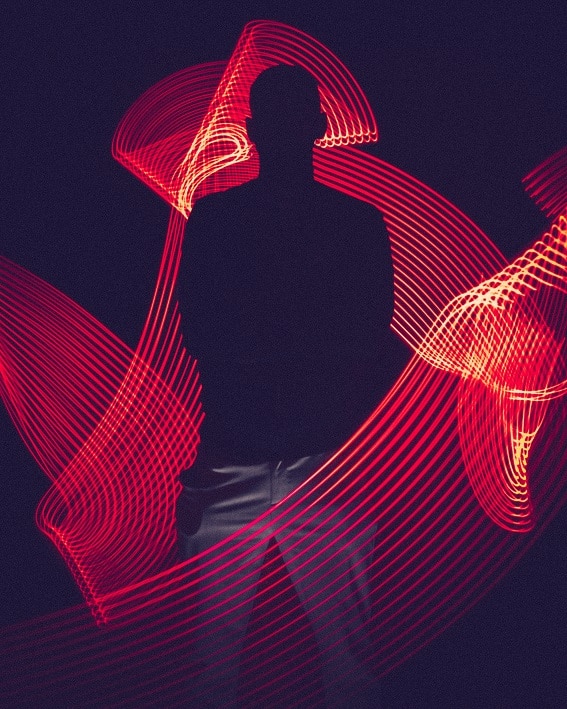
You can use these Secondary Lights or light Sticks for cool effects like light painting also.
8. Use a Faster Lens ( having bigger aperture ) or Prime Lens:
What I mean by a faster lens is not that lens that can run very fast; rather, I am talking about a lens that has an aperture of less than f/3.5. A fast lens is that which has a wide aperture—typically f/1.4, f/1.8, or f/2.8—and is great for low light photography because it enables the camera to take in more light.
A wider aperture also allows for faster shutter speeds, resulting in minimal camera shake and sharper images. This tip is for those who have a DSLR and are willing to buy a new lens.
Check out these Best Prime Lens for Nikon DSLR Cameras
You can grab some cheap Prime Lenses form Nikon and Canon for as little as 100$..
- Canon EF 40mm f/2.8
- Canon EF 50mm f/1.8 ( Best Budget Lens )
- Nikon AF-S 50mm f/1.4
- Canon EF 85mm f/1.8
- Nikon AF-S 85mm f/1.8
- Canon EF 100mm f/2.8
- Sigma 105mm f/2.8 for Nikon FX
Want to review this article Later?
Pin the Image below to Low Light Photography Tips Board
9. Post-processing or Editing:
This is your last chance to fix your photos to get what you were wanting. I will say that all those photos you see on Instagram or Facebook. Those photos have been heavily edited and photoshopped.
You may not see any original photos because they are often flat and not that pleasing.
The best software’s for editing is Lightroom but if you’re looking for something light then there’s VSCO and Snapseed.
Post Processing Needs Good Processing Power. You can Check out our Guide on Best Laptops for Editing Photos Here.
You can post-process your images to reduce image noise caused by shooting with a high ISO, convert to B&W, adjust the contrast, brightness, shadows, highlights, sharpness, etc.
Just keep in mind that if it’s a bad photo, to begin with, you’re not going to make wonders from it.
10. Reduce Camera Shake : Use Image Stabilisation enabled Lens or Camera
What I mean by camera shake is that shake which can be seen in photos, after moving the camera while it is shooting or shaking it while pressing the Shutter Speed.
Try to hold the camera as steady as possible, but also when dealing with slow shutter speeds and Low-Light Photography, you must eliminate camera shake.
You can reduce this by using the above points I mentioned but to further enhance the images use a lens like Nikon which has Vibration Reduction (VR), Canon which has Image Stabilization (IS), Sony which has Steady Shot INSIDE, and so on. But then again, this lens option is a bit expensive.
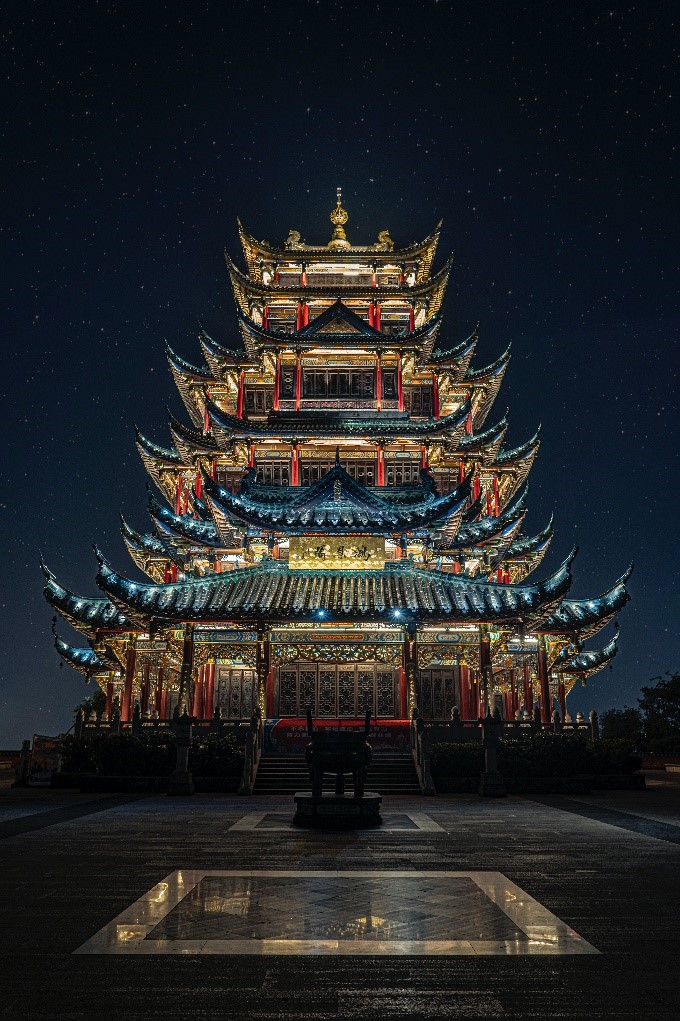
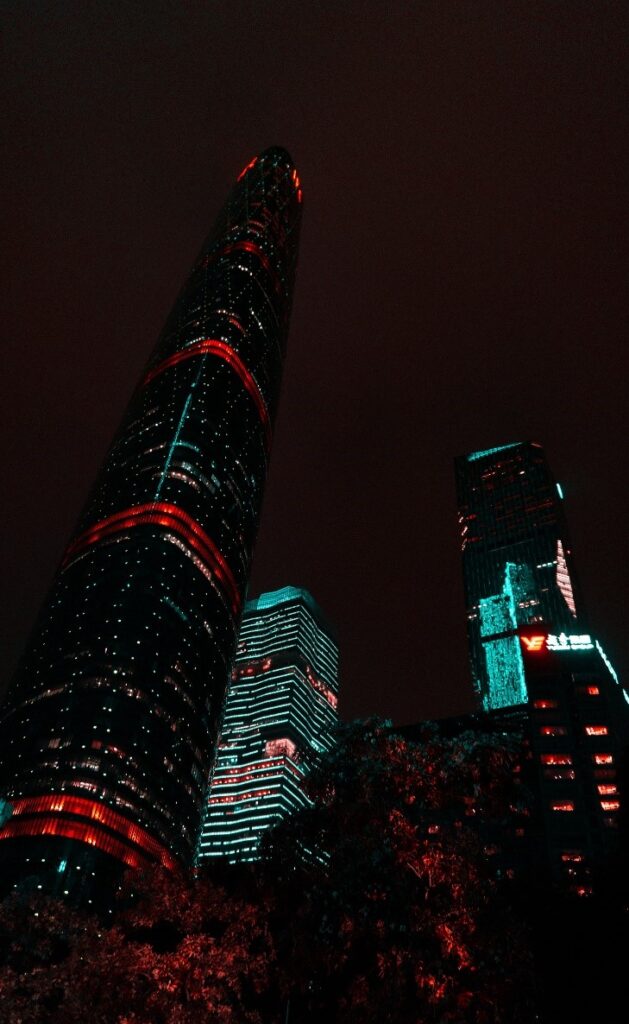
Bonus Tip: Get Inspired
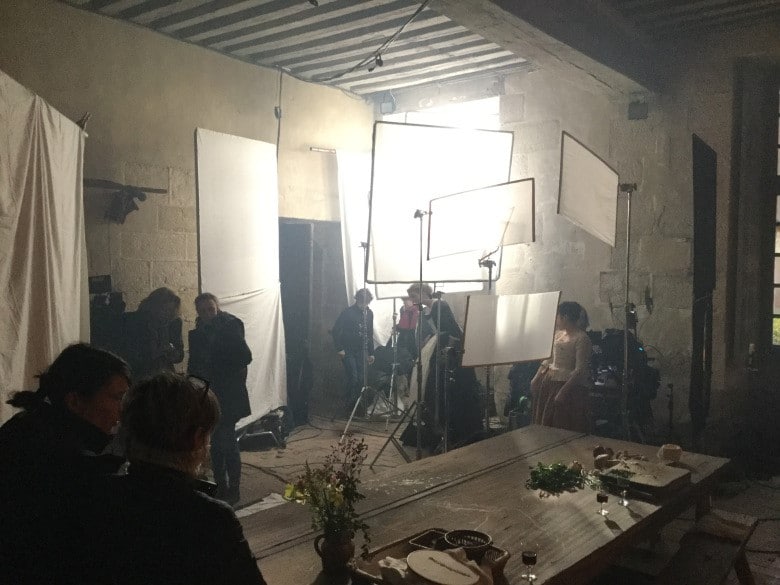
The Best way to Learn is to replicate the work of others
here are some photos to get you inspired. Try to recreated those exact looks with the equipment You have

Lets Summarise:
- In order to get Quality Images You should use a Low ISO setting or you should Get a Camera which handles the Noise Better at High ISO.
- You have to either use a Faster Lens (Low F-stop Number Lens like f1.4, f1.8) or decrease your Shutter Speed to allow adequate light on the sensor.
- As we are decreasing the shutter speed, this increases the Motion blur, So we Should Keep the Camera Steady by mounting it on a Tripod or Placing it on a Firm Ground.
Mention Your Thoughts in the Comments below and Share the Article if you find it useful and as always LEARN | SHOOT | EDIT | REPEAT.


